Week 01: Shapes and Colors
-
Algorithms, programs, and programming languages.
-
Introduction to Processing: Drawing canvas, coordinates, pixels.
-
Shapes: point, line, rectangle, ellipse, arcs, curves
-
Color: grayscale, RGB (integer, hex representation), HSB (e.g. HSV) color.
-
Shape attributes: stroke weight, stroke color, fill color.
-
Printing to console using println()
-
Structure of a Processing sketch (header comment, setup(), draw())
-
User-input (mouseX, mouseY, mousePressed(), keyPressed())
-
The
random()function
1. Readings
-
Read: Chapter 1, 2, 3 from Shiffman.
2. Resources
2.1. Frame count demo
/*
Aline Normoyle
09/08/2020
Display the frame count each frameCount
Simple program showing the structure of a Processing sketch
*/

void setup() {
  size(500, 500); // create 500x500 pixel canvas
}

void draw() {
  background(200); // clears the screen
  textSize(128); // sets the text size to something big
  text(frameCount, 250,250); // draws text on the screen
}
2.2. Shapes/Fill/Stroke Demo 1
void setup() {
  size(1000, 500);

  line(0, 0, 1000, 500); // arguments: startX, startY, endX, endY
  ellipse(1000, 600, 50, 50); // opps, can't see because outside the canvas bounds

  fill(255);
  //noFill();
  stroke(0);
  strokeWeight(10);
  noStroke();
  ellipse(500, 250, 500, 500); // arguments: x, y, xWidth, yWidth

  rectMode(CENTER);
  rect(500,250,100,100);
}

void draw() {
}
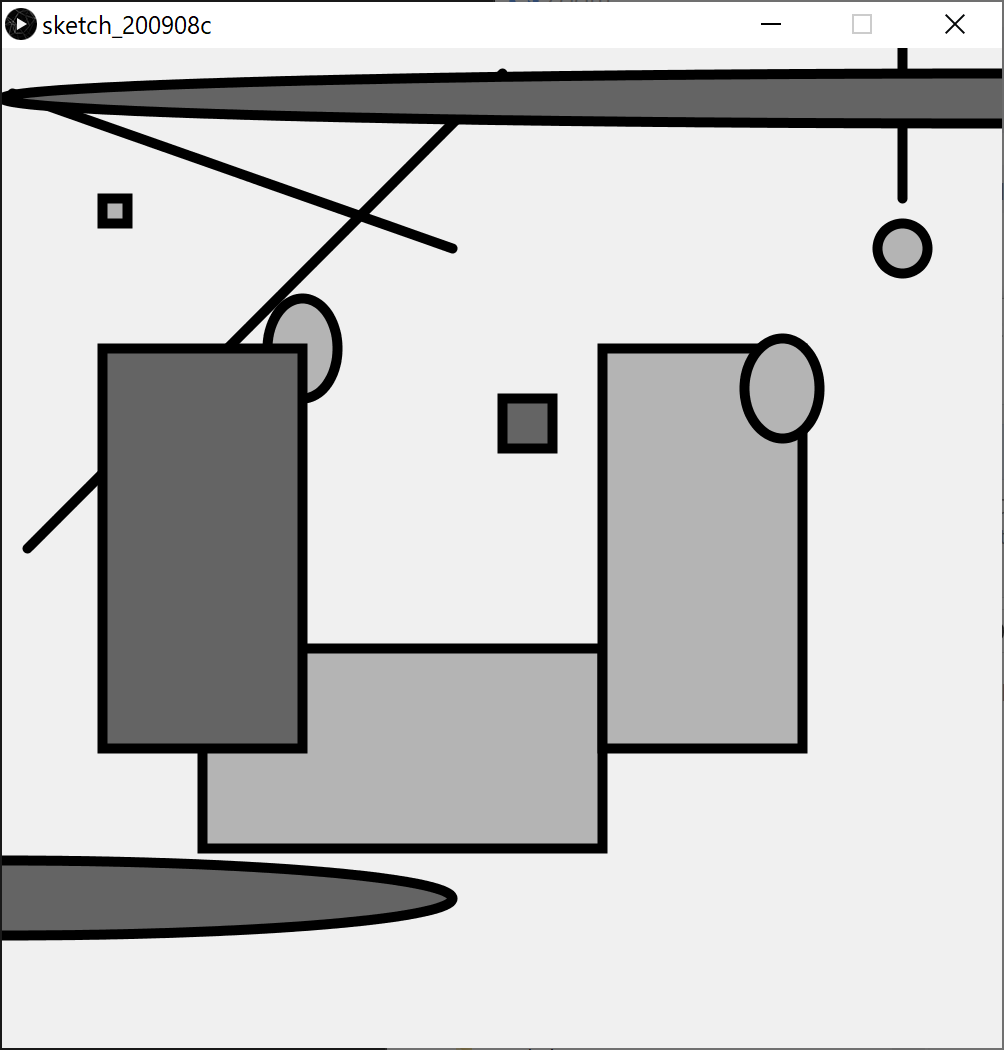
2.3. Collaborative Art I
void setup() {
  size(1000,1000);

  background(240);
  strokeWeight(10);
  fill(180);
  ellipse(900, 200, 50, 50);
  line(500,25, 25, 500);
  ellipse(300,300,70, 100);
  rect(100,150, 25,25);
  rect(200, 600, 400, 200);
  line(900, 0, 900, 150);
  line(10, 45, 450, 200);
  rect(600, 300, 200, 400);
  ellipse(780, 340, 75, 100);
  fill(100);
  rect(500,350,50,50);
  ellipse(1000, 50, 2000,50);
  ellipse(0, 850, 900, 75);
  rect(100, 300, 200,400);
}

void draw() {
}
2.4. Input: mouse position
Method 1: Using the variables mouseX and mouseY
void setup() {
  size(500,500);
  rectMode(CENTER);
}

void draw() {
  //background(255);  // how does the behavior change if we clear the background?
  rect(mouseX, mouseY, 50, 50);
}
Method 2: Using a function
void setup() {
  size(500,500);
  rectMode(CENTER);
}

// Only draw the rectangle with a click
void mouseClicked() {
  println("Mouse clicked: ", mouseX, mouseY);
  rect(mouseX, mouseY, 50, 50);
}

void draw() {
}
Notes:
-
We can use the
printlnfunction to print helpful values to the console (useful for debugging) -
Read the Processing reference (search for
Input) to see what functions and variables are available for input -
You must define a
draw()function to receive input!
2.5. Input: keyboard
Method 1: Using the variable keyCode
Processing lets us get the current key using keyCode, similarly to
how we use mouseX and mouseY. We will talk about keyCode later.
Method 2: Using a function
void setup() {
  size(1000,1000);
  background(255);
}

void keyPressed() {
  println("Key Pressed: ", keyCode); // prints to console
  rect(mouseX, mouseY, 50, 50); // draw rectangle when key is pressed
}

void draw() {
}
2.6. Color: Simple
void setup() {
  size(500,500);

  background(255,255,255);
  rectMode(CENTER);
  fill(136,121,206, 255);
  stroke(#F0276D);
  strokeWeight(10);
  rect(250,250, 400, 400);

  save("rectangle.png");
}

void draw() {
}
2.7. Color: Transparency
void setup() {
  size(500,500);

  fill(255,0,0,128);
  ellipse(100,100,100,100);

  fill(0,255,0,128);
  ellipse(180,100,100,100);

  fill(0,0,255,128);
  ellipse(150,150, 100,100);

}

void draw() {
}
2.8. Color: Jitter
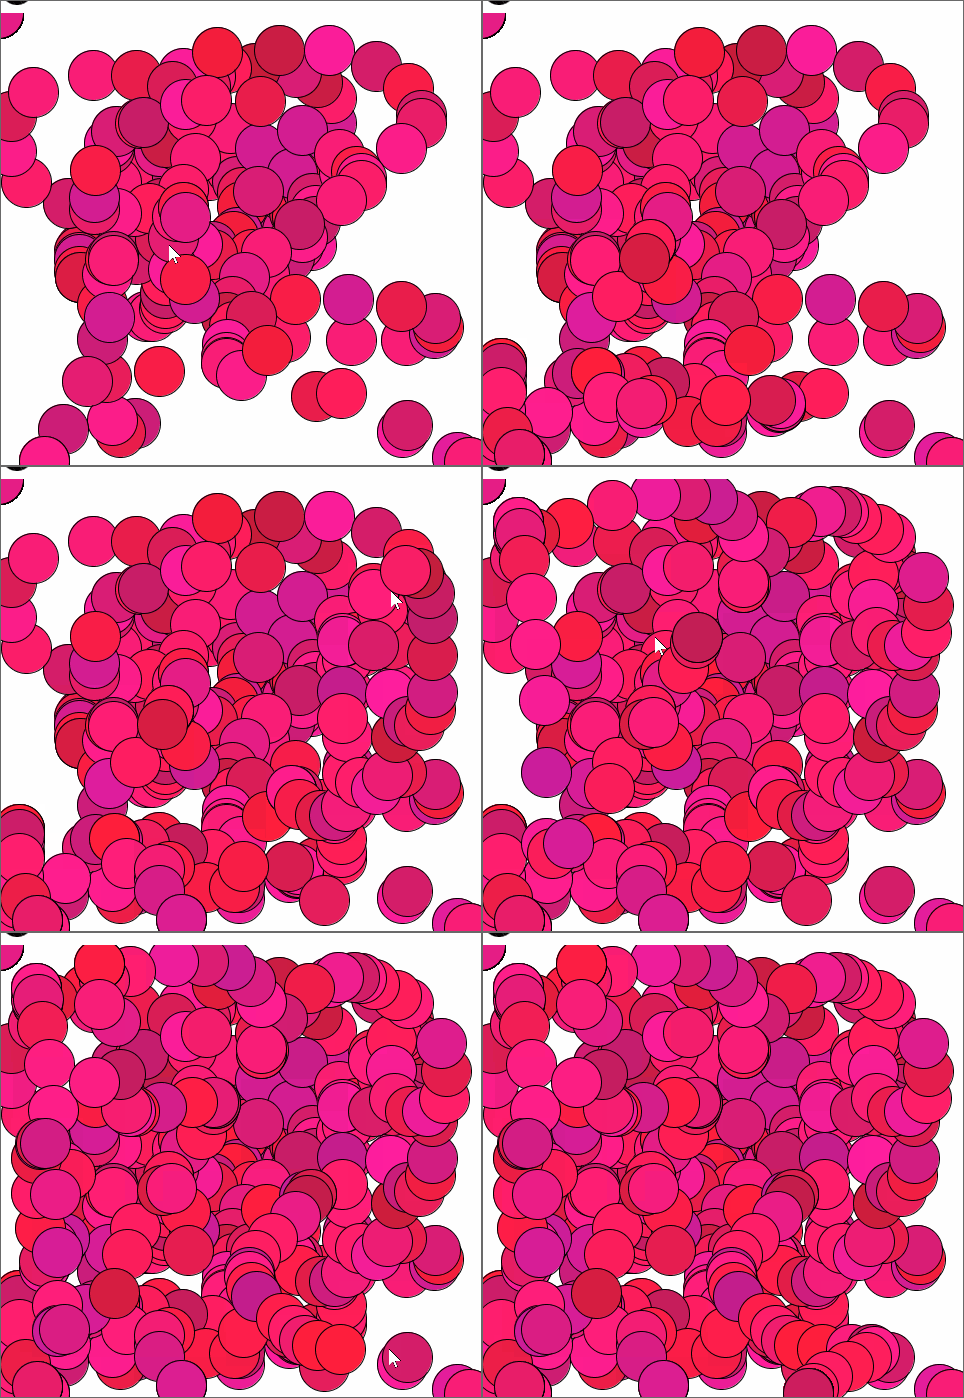
void setup() {
  size(500, 500);
  background(255);
}

void keyPressed() {
  save("jitter.png"); // save the image on key press
}

void draw() {
  fill(245 + random(-50,50), 30, 109 + random(-50,50));
  ellipse(mouseX, mouseY, 50, 50);
}
2.9. Color: Gradient
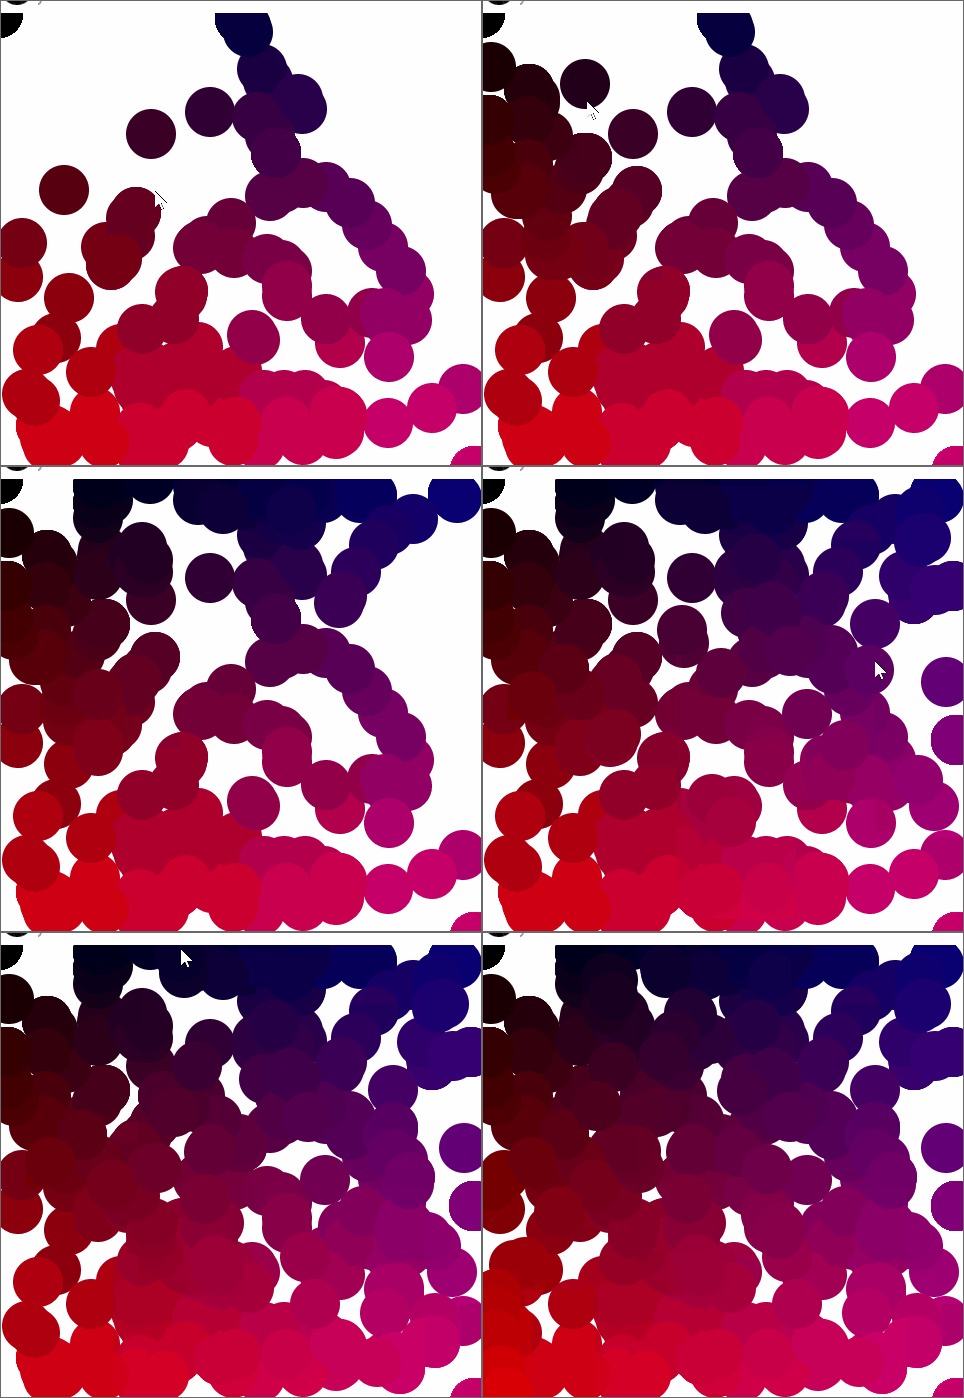
void setup() {
  size(500,500);
  noStroke();
  background(255);
}

void draw() {
  fill((mouseY / 500.0) * 244, 0, (mouseX / 500.0) * 126);
  ellipse(mouseX, mouseY, 50, 50);
}
2.10. Shape: Arc
void setup() {
  size(500,500);
  // "slice" of a sphere from PI/2 (6 o'clock) to PI (9 o'clock)
  arc(250, 250, 500, 500, 0.5 * PI, PI);
}
2.11. Shape: Curves
Processing gives us two ways to draw curves: bezier and curve
2.11.1. Bezier: Heart
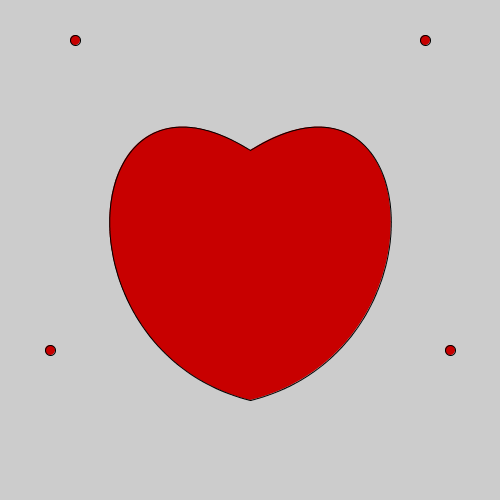
// Draw a heart
void setup() {
  size(500,500);
  background(255);

  fill(200,0,0);
  bezier(250,400, 50, 350, 75,40, 250,150);
  bezier(250,150, 425,40, 450,350, 250,400);

  ellipse(50,350, 10, 10);
  ellipse(75,40, 10, 10);
  ellipse(425,40, 10, 10);
  ellipse(450,350, 10, 10);
}
// Interactive heart demo: the mouse controls the bottom,left control point
void setup() {
size(500,500);
}
void draw() {
background(255);
fill(200,0,0);
bezier(250,400, mouseX, mouseY, 75,40, 250,150);
bezier(250,150, 425,40, 450,350, 250,400);
ellipse(mouseX,mouseY, 10, 10);
ellipse(75,40, 10, 10);
ellipse(425,40, 10, 10);
ellipse(450,350, 10, 10);
// print the current mouse position to the console
println("POSITION:", mouseX, mouseY);
}2.11.2. Curve: Star
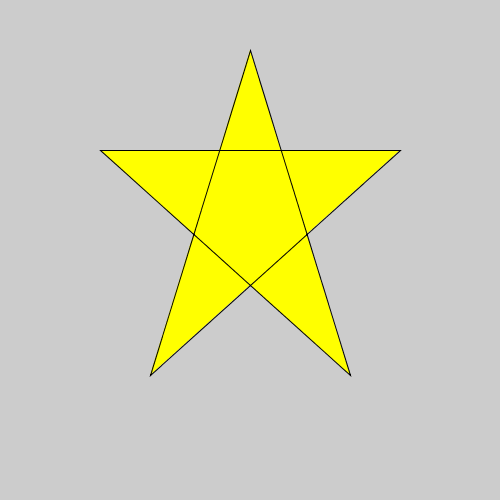
// Draw star with straight lines
void setup() {
  size(500,500);

  fill(255,255,0);
  beginShape();
  vertex(0.20 * 500, 0.30 * 500);
  vertex(0.80 * 500, 0.30 * 500);
  vertex(0.30 * 500, 0.75 * 500);
  vertex(0.50 * 500, 0.10 * 500);
  vertex(0.70 * 500, 0.75 * 500);
  endShape(CLOSE);
}

void draw() {
}
// Draw star with curvy lines
void setup() {}
  size(500,500);

  fill(255,255,0);
  beginShape();
  curveVertex(0.50 * 500, 0.10 * 500);  // control point
  curveVertex(0.70 * 500, 0.75 * 500);  // control point
  curveVertex(0.20 * 500, 0.30 * 500);  // original point
  curveVertex(0.80 * 500, 0.30 * 500);  // original point
  curveVertex(0.30 * 500, 0.75 * 500);  // original point
  curveVertex(0.50 * 500, 0.10 * 500);  // original point
  curveVertex(0.70 * 500, 0.75 * 500);  // original point
  curveVertex(0.20 * 500, 0.30 * 500);  // control point
  endShape(CLOSE);
}

void draw() {
}